BenQ AH700ST Golf Projector
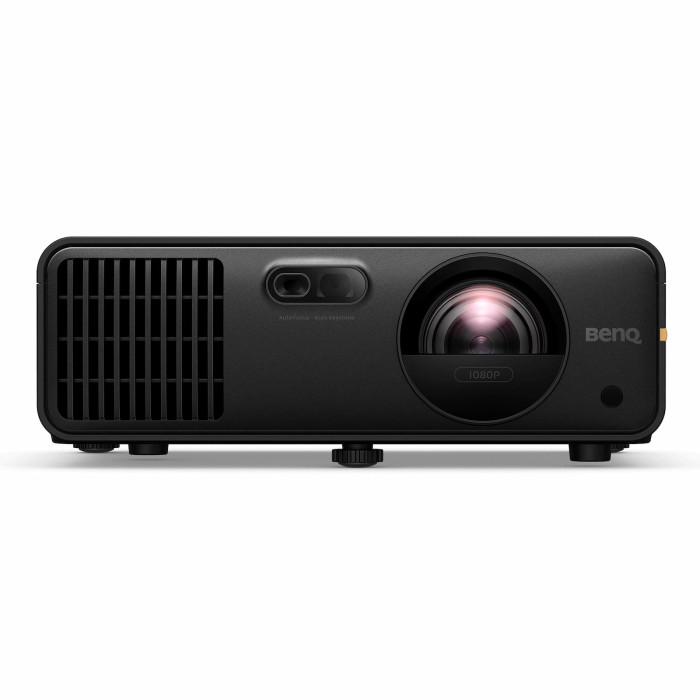
Golf simulator projector installation made easier! The BenQ AH700ST makes projector placement a breeze with its automatic screen adjustment and one-button setup.
Enjoy realistic grass and sand visuals with golf mode. Designed to be durable with a dustproof build and laser light source, it adapts to almost any screen size and shape, correcting and calibrating from any angle for a simple setup.
Projector Mounting Considerations
Creating the ultimate golf simulator experience starts with dialing in the perfect projector placement. But not every mounting option suits every room layout. Explore these popular mounting choices to find the best fit for your space.

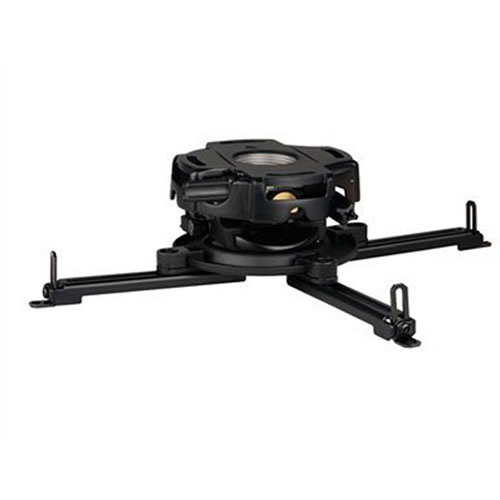
Mount a Projector Flush to the Ceiling
Mounting your projector flush to the ceiling is a popular choice for golf simulators. It stays clear of your swing path and helps minimize shadows, making for a cleaner setup.

Drop Mount a Projector
For high ceilings or precise height adjustments, drop mounting is an ideal solution. This setup allows you to lower your projector to the perfect height, ensuring an optimal view for your simulator.

Mount a Projector to an Enclosure
For a sturdy, streamlined setup, consider mounting your projector directly to the frame of a Carl's Place Pro Enclosure. This method provides solid support, extra protection, and a sleek, clean appearance.

Protect a Projector on the Floor
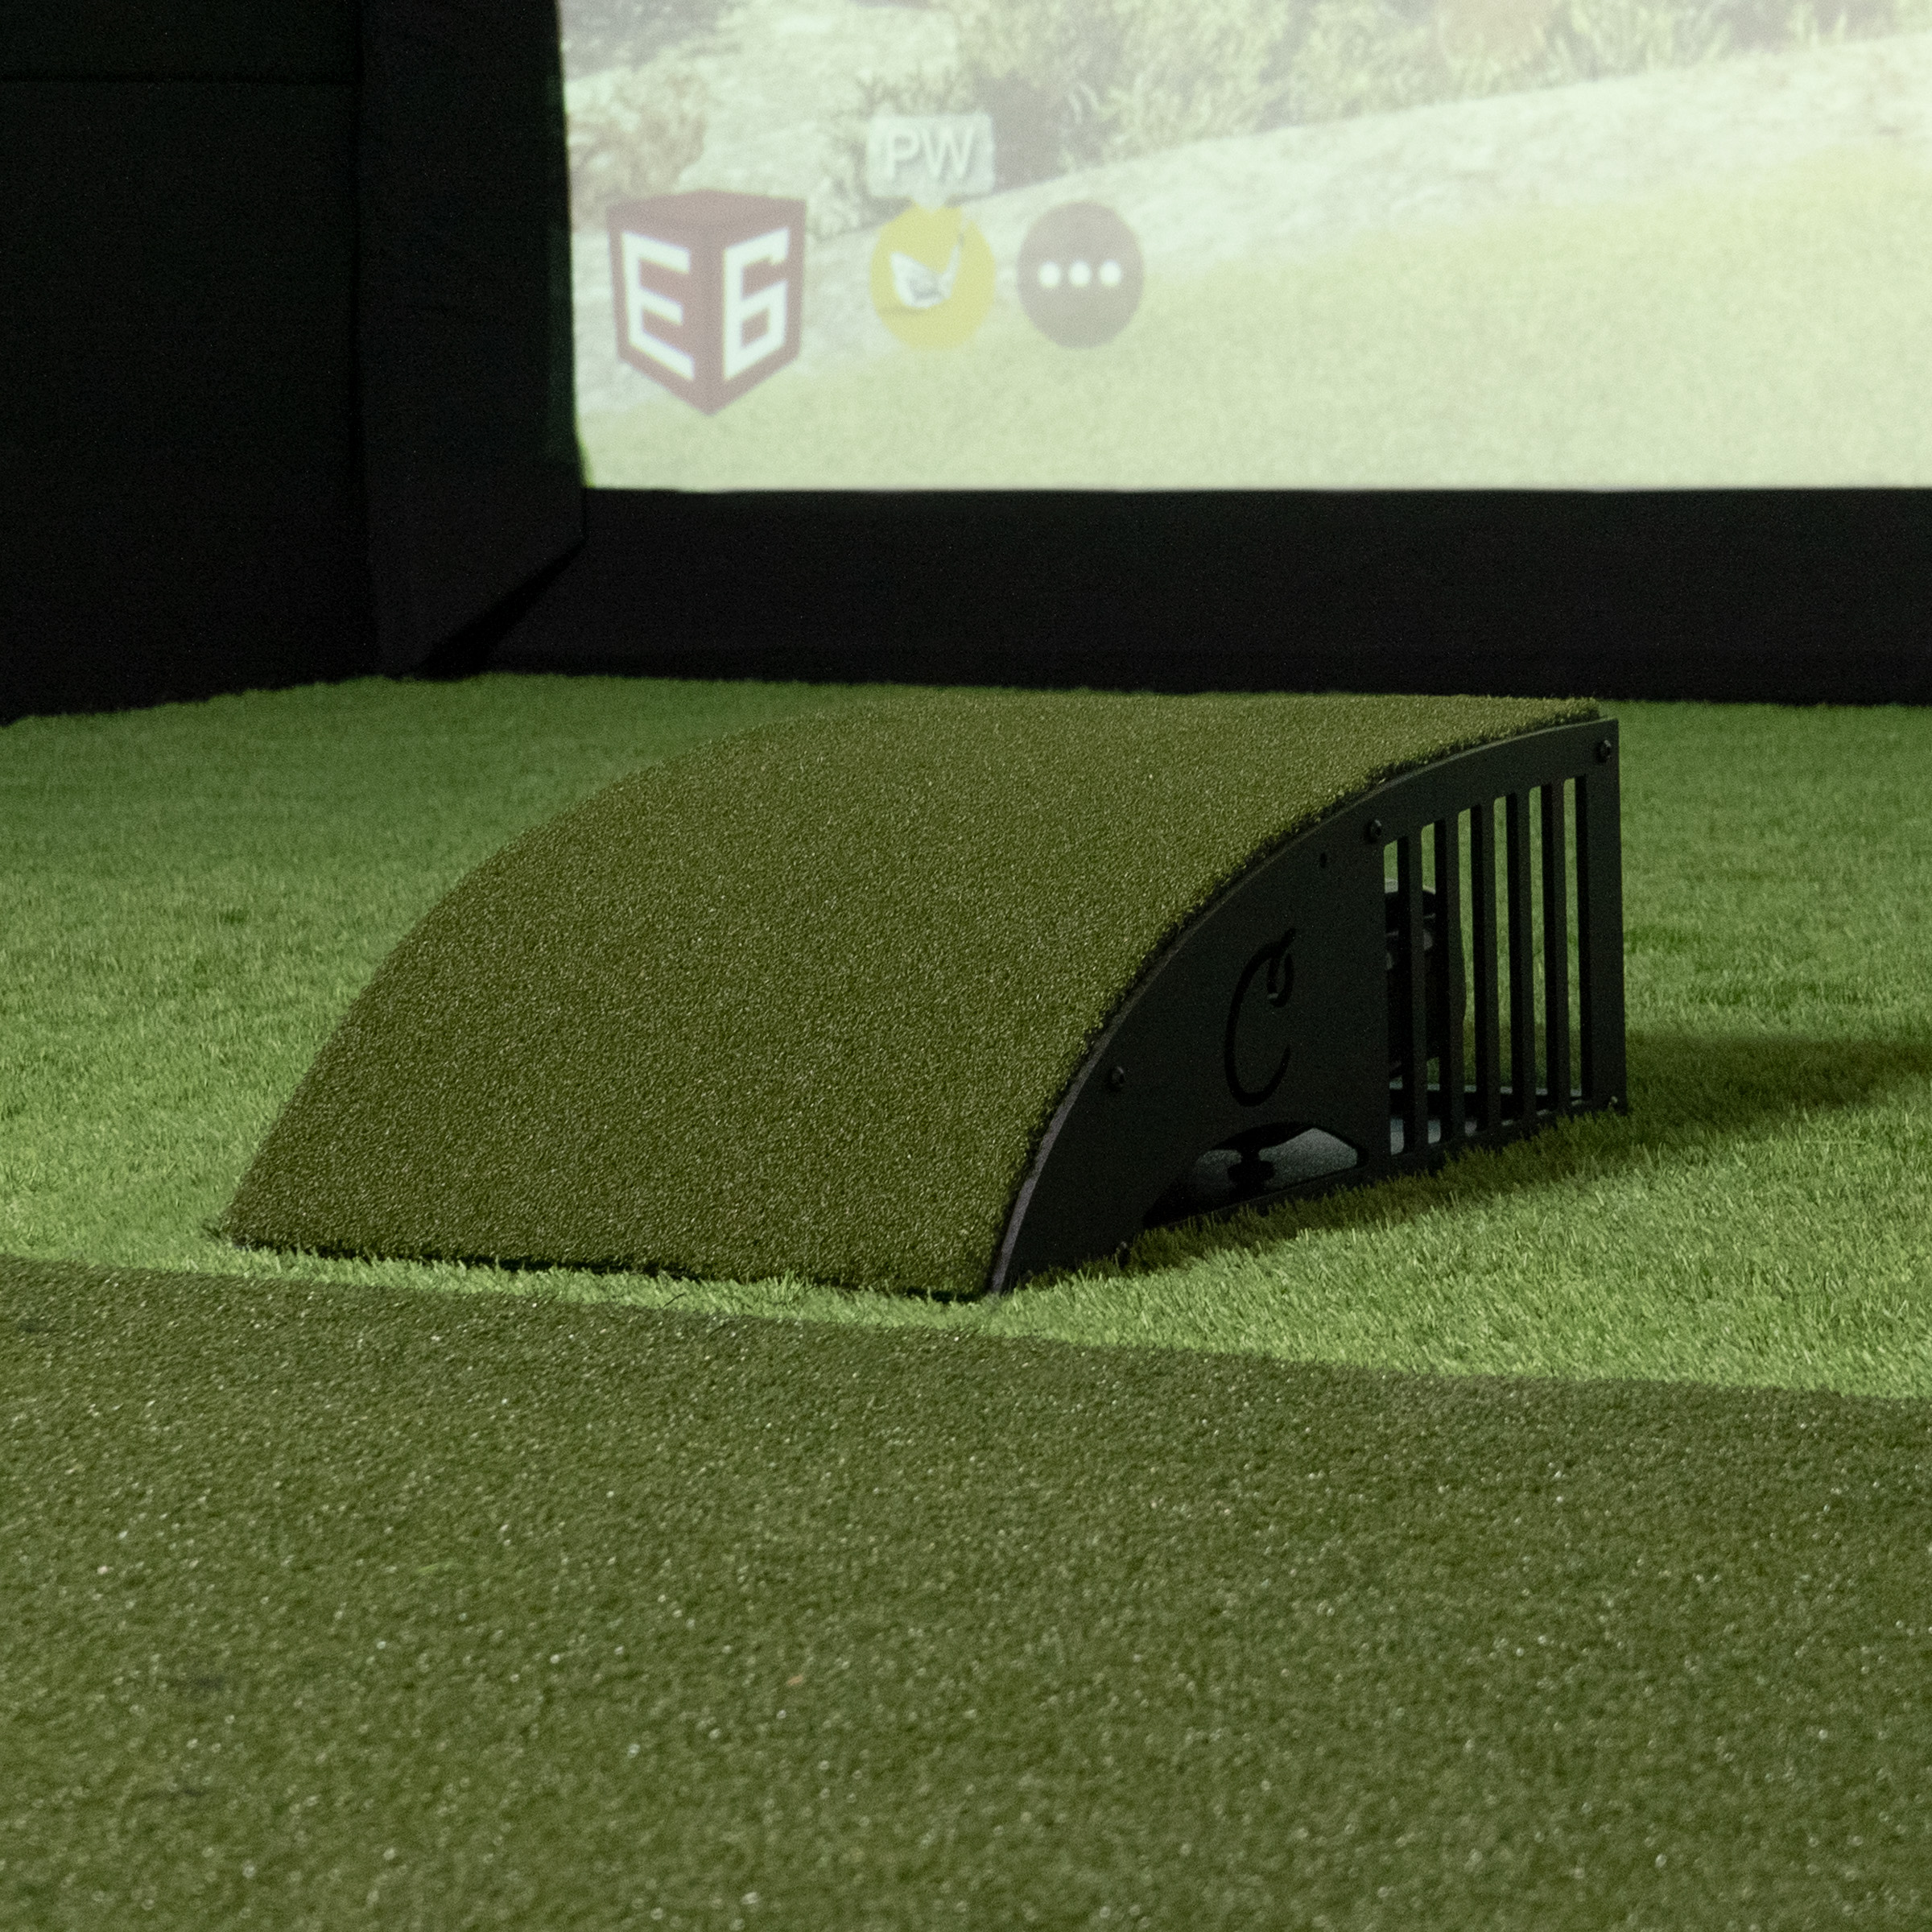
Sometimes, placing your projector on the floor is the easiest option for a golf simulator setup. A floor enclosure will keep it protected, allowing you to swing with confidence and peace of mind.
Details
BenQ AH700ST Features
Easy Installation
Fantastic Picture Quality
Mounting Flexibility
The short throw lets you install in a safe and shadow-free location for your swing. Plus, the professional-grade motorized lens with 1.2x optical zoom lets you easily adjust the screen size without reinstalling, maintaining perfect picture quality.
The AH700ST is capable of projecting wirelessly from any device, with the purchase of a separate dongle.
Garage Tough
How It Works
BenQ’s AutoFit feature is super handy - it can tweak the image size, focus, and alignment to match your screen. However, you still need to place your projector so the image roughly fills your screen before you hit that AutoFit button.
1. Placing the Projector
Mount or position your projector so the image is bigger than your screen on all sides. Yep, make it overflow a little, BenQ recommends a screen border of at least 2.4" around your screen. Now our C-Series screens don’t quite play by those border rules - the image goes all the way to the floor. Luckily, AutoFit still plays nice. We checked.
2. Firing It Up
When you turn on your projector for the first time (or after a factory reset), you’ll get a pop-up to start AutoFit. Press OK.
3. Tweaking the Position
You’ll see a pattern on your screen. This is your cue to adjust the projector’s distance, tilt, and zoom so the pattern fits nicely inside the borders of your screen.
4. Let Autofit Do Its Thing
Once that pattern is sitting inside your screen, press OK again. The projector will then automatically adjust the image to fit your screen’s size and aspect ratio.
5. Fine-tune with Corner Fit
AutoFit gets you close, but not always perfect. After it runs, you’ll get a screen to adjust the corners just right.
See How We Did It
Watch us set up the AK700ST. The manual is also available in the Resources section below.
Get Started
What's Included
- BenQ TK710STi Projector
- Power Cord
- HDMI Cable
- Warranty Card
Ordering Information
Shipping Limitation
Specs
BenQ AH700ST Specifications |
|
|---|---|
| Brightness (ANSI lumens) | 4000 |
|
Native Resolution
|
1080p (1920x1080)
|
|
Native Aspect Ratio
|
16:9
|
|
Selectable Aspect Ratio
|
16:10, 16:9, 4:3, Auto, Real
|
|
Light Source
|
Laser
|
|
Light Source Life (up to)
|
Up to 20,000 hours
|
|
Throw Ratio
|
0.69~0.83
|
|
Zoom Ratio
|
1.2x
|
|
Projection Offset (Full-Height)
|
102.5%
|
|
Keystone Adjustment
|
Vertical and Horizontal ±20 degrees
|
|
Corner Fit
|
Yes |
|
Lens Shift Vertical
|
N/A
|
|
Lens Shift Horizontal
|
N/A
|
|
HDMI in
|
(x2);HDMI (2.0b/HDCP2.2)x1;HDMI (2.0a/HDCP2.2)x1
|
|
Net Weight (pounds)
|
7.3 |
|
Dimensions (WxHxD)
|
11.9” x 4.4” x 9.2” |
FAQ
“One of the big benefits of having an indoor golf simulator is that they're usually set up walking distance to a refrigerator.”Carl

